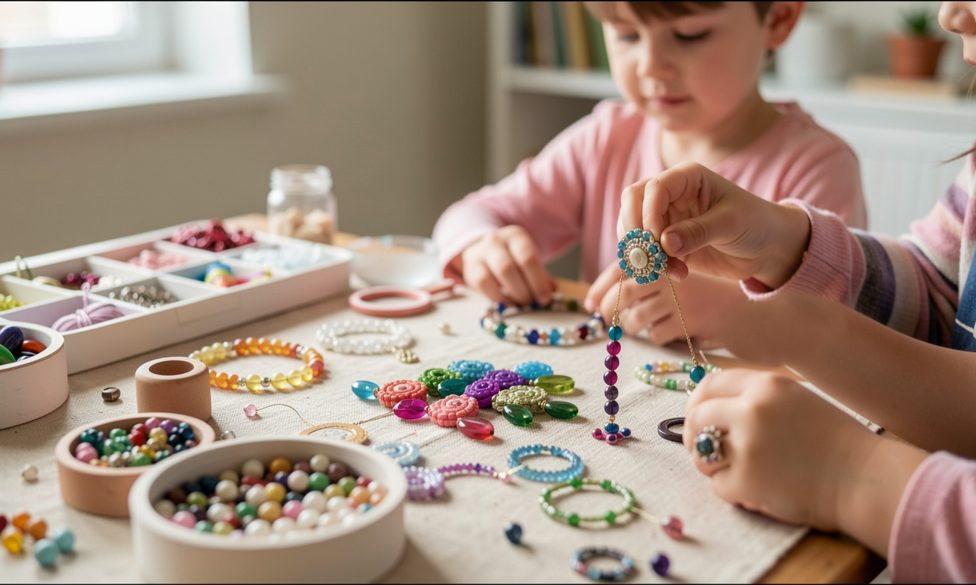
How do you plan a bead project for a group?
A shared project starts where a solo one starts, at the limiting junction, but the junction moves once more than two pairs of hands are involved. The bead has to pass the cord without a needle, the cord has to hold a knot an adult can finish, and the work has to stop and restart without losing its place. One bead size for the whole table removes most of the negotiation: a 6/0 seed bead, a 12 mm wooden bead, or a pony bead all take a lace or a 1 mm elastic cord, and the same quantity serves every person.
A table with several pairs of hands changes which decision comes first: the work has to survive being picked up and put down in short turns, so the cord and the bead hole matter more than the design does. Groups that run craft afternoons usually borrow the shape of a wider calendar, and a magazine on church life in Macon follows how congregations in Middle Georgia organize family ministries, first visits, and the volunteer work behind a food and clothing pantry. That kind of calendar suits a short strand far better than a large piece left half finished.
Which bead size and cord keep a shared table simple?
One bead size and one cord for the whole table settle most of the coordination before anyone sits down. A 6/0 seed bead, a 12 mm wooden bead, or a pony bead passes a lace or a 1 mm elastic cord without a needle, so each person can thread unaided and the same count serves every place at the table. Elastic hides the finishing problem inside a knot that an adult ties, which keeps the last step out of the session until the piece leaves the table.
A rimmed tray per person is the other half of the plan: it bounds the work, catches strays, and makes the count-back at the end possible. Keeping the color list short is part of the same economy, and the bench keeps that side of the choices in bead colors chosen from a small palette.
Test the plan on one short strand before the session, using the cord, the bead, and the knot the group will actually use, and keep the result beside the date. Then write the session the way the bench writes any project: the material, the count, the helper step, and the point where the work pauses. A group that finishes one short piece together learns more than a table that starts four large ones.
Bench checklist
Before you commit
- Choose one bead size and one cord that every person at the table can handle without a needle.
- Count the beads per person before the session and close with a count-back.
- Keep each work place on a rimmed tray so strays stay off the floor.
- Let adult hands finish the knot or clasp until a younger maker can manage it alone.
Keep the caveat
What this page leaves visible
A familiar label can organize a question, but it cannot prove that two materials are interchangeable. Keep the publisher's caveat attached and leave unknowns visible.
Evidence pack
Sources close to the decision
- Nemours KidsHealth: Choking Prevention for ChildrenSmall-parts and choking prevention guidance used to set the age and supervision boundaries for bead projects.General household safety guidance; the adult at the table still decides what a specific child can handle. Checked September 12, 2026.
- Beadalon: Learning Center FAQsProduct-specific questions about stringing wire, diameter, strand count, and crimp compatibility.The guidance is manufacturer-specific; confirm compatibility with the exact components in hand. Checked August 24, 2026.
- U.S. Federal Trade Commission: Jewelry GuidesWhy material type, treatment, size, quality, durability, origin, and other product representations should be truthful and clear.This is general U.S. guidance, not personalized legal advice or a substitute for the current regulation text. Checked August 24, 2026.